
https://iambeginnerdeveloper.tistory.com/330
C++ | Window cpp VScode 설치, Window C++(MinGW+VScode)설치
윈도우에서 vscode를 쓰고 있던 중이라 visual studio가 아닌 vscode에서 c++을 설치하고 사용할 수 있도록 환경 셋팅을 해 보았다. 1. 컴파일러 설치c++을 사용하기 위해 여러 컴파일러를 설치할 수 있지
iambeginnerdeveloper.tistory.com
윈도우에서 cpp로 onnx runtime을 사용하려고 지난번에 MinGW를 컴파일러로 설치했는데 이 컴파일러는 onnx runtime 사용이 안된다고 한다..! ORT 공식 바이너리는 MSVC ABI 기준이라 MinGW와 직접 호환이 불안정하기 때문이다.
그래서 MSVC(Microsoft C++) 컴파일러를 설치하여 onnx runtime을 사용했다.
1. visual studio toolchain 설치
https://visualstudio.microsoft.com/ko/downloads/
Windows, Mac, Linux용 Visual Studio 및 VS Code 다운로드
Visual Studio IDE 또는 VS Code를 무료로 다운로드하세요. Windows 또는 Mac에서 Visual Studio Professional 또는 Enterprise Edition을 사용해 보세요.
visualstudio.microsoft.com
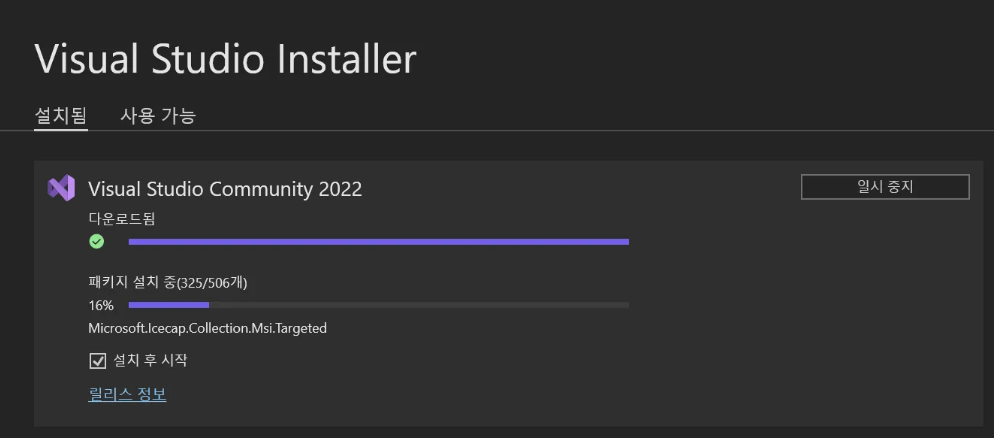
위 페이지에서 커뮤니티(무료) 버전을 다운로드 후 설치를 진행 해 준다.

워크로드를 c++을 사용한 데스크톱 개발로 선택 후 설치를 이어가면 된다.
설치가 완료되면 로그인 창이 뜨는데 마이크로소프트 계정이 없다면 건너뛰기를 해도 된다.
2. MSVC 설치 확인
시작 메뉴에서 “x64 Native Tools Command Prompt for VS 2022”를 실행한 후 아래 명령어 입력 시 버전이 제대로 출력 되면 설치가 된 것이다.
cmake --version

ninja --version
cl /Bv
-> 마지막 줄은 cl 호출 시 항상 뜨는 안내성 에러라 무시해도 된다.
-> 위 사진처럼 버전이 출력 되면 제대로 설치가 된 것이다.
이를 윈도우 파워쉘 터미널에서 확인하려면 아래와 같이 설정이 필요하다.
# vs 설치 경로 찾기
$vs = & "${env:ProgramFiles(x86)}\Microsoft Visual Studio\Installer\vswhere.exe" `
  -latest -products * `
  -requires Microsoft.VisualStudio.Component.VC.Tools.x86.x64 `
  -property installationPath

# DevShell 모듈 로드 후 x64 환경 진입
Import-Module "$vs\Common7\Tools\Microsoft.VisualStudio.DevShell.dll"

Enter-VsDevShell -VsInstallPath $vs -SkipAutomaticLocation -DevCmdArguments "-arch=x64"
3. 간단 컴파일 테스트
새로운 프로젝트 생성 후 아래 내용이 적힌 hello.cpp 파일을 생성해 준다.
#include <iostream>
int main() {
    std::cout << "Hello, MSVC!\n";
}이후 터미널 창에서 아래 명령어를 입력하면 obj 파일과 exe 파일이 생성된다.
cl /EHsc /std:c++17 hello.cpp- /EHsc : 표준 C++ 예외 모델 사용
- /std:c++17 : C++17 모드로 컴파일

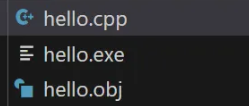
.\hello.exe생성 된 exe 파일 실행 시 "Hello, MSVC!"가 출력되면 제대로 설치 및 빌드가 된 것이다.
4. vscode에서 MSVC로 빌드하기
먼저 vscode extensions에서 C/C++, CMake, CMake Tools을 설치 해 줘야 한다.
vscode 터미널에서 아래를 입력 해 주면 cl 명령어를 사용할 수 있게 된다.
$vs = & "${env:ProgramFiles(x86)}\Microsoft Visual Studio\Installer\vswhere.exe" -latest -products * -requires Microsoft.VisualStudio.Component.VC.Tools.x86.x64 -property installationPath

Import-Module "$vs\Common7\Tools\Microsoft.VisualStudio.DevShell.dll"; Enter-VsDevShell -VsInstallPath $vs -DevCmdArguments "-arch=x64"
vscode 열 때 마다 터미널에서 cl 명령어가 제대로 동작하도록 하려면 아래를 먼저 터미널에 입력한다.
New-Item -Type File -Force $PROFILE | Out-Null

code $PROFILE→ 이렇게 입력 했을 때 열린 파일에 아래 내용을 붙여 넣어주면 된다.
try {
  $vs = & "${env:ProgramFiles(x86)}\Microsoft Visual Studio\Installer\vswhere.exe" `
         -latest -products * -requires Microsoft.VisualStudio.Component.VC.Tools.x86.x64 `
         -property installationPath

  if ($vs -and -not (Get-Command cl -ErrorAction SilentlyContinue)) {
    $pwdBefore = Get-Location                   # ★ 현재 폴더 기억
    $env:VSCMD_START_DIR = $pwdBefore.Path      # ★ VS DevShell에 시작 폴더 힌트
    Import-Module "$vs\Common7\Tools\Microsoft.VisualStudio.DevShell.dll" -ErrorAction Stop
    Enter-VsDevShell -VsInstallPath $vs -DevCmdArguments "-arch=x64"
    Set-Location -LiteralPath $pwdBefore.Path   # ★ 원래 폴더로 복귀
  }
} catch { }이 후 vscode를 재 시작하면 내장 터미널에서도 cl 명령어가 제대로 동작함을 확인할 수 있다.
이 작업을 vscode를 재 실행 할 때 마다 자동으로 적용하려면 .vscode/settings.json 파일에 아래 내용을 넣어주면 된다.
    "terminal.integrated.profiles.windows": {
        "VSDevShell x64": {
          "path": "C:\\Windows\\System32\\WindowsPowerShell\\v1.0\\powershell.exe",
          "icon": "terminal-powershell",
          "args": [
            "-NoExit",
            "-Command",
            "$p=(Get-Location).Path; & \"$Env:ProgramFiles\\Microsoft Visual Studio\\2022\\Community\\Common7\\Tools\\Launch-VsDevShell.ps1\" -Arch amd64; Set-Location $p"
          ]
        }
      },
    "terminal.integrated.defaultProfile.windows": "VSDevShell x64",
5. cmake로 빌드
새 프로젝트 및 소스코드를 생성 해 준다.
#include <iostream>
int main()
{
    std::cout<<"hello world"<<std::endl;
    return 0;
}
이후 CMakeLists.txt 생성 해 준다.
project(helloworld)
add_executable(helloworld main.cpp)
빌드 시 생기는 부산물을 저장할 폴더를 생성 해 준다.

cd build

cmake .. -G "Visual Studio 17 2022"이렇게 빌드를 해 주면 build 폴더 내 부산물들이 생긴다.

cmake --build ./
빌드가 끝나면 build/Debug 폴더에 exe 실행 파일이 생겨 있다.
.\Debug\helloworld.exe이렇게 파일을 실행 해 주면 된다.
6. MSYS 삭제
기존에 MSYS(MinGW)를 설치했었다면 삭제 해 주는 것이 좋다.
C:\msys64 해당 경로의 설치 폴더 삭제를 하고 환경 변수에서도 삭제 해 주면 된다.
